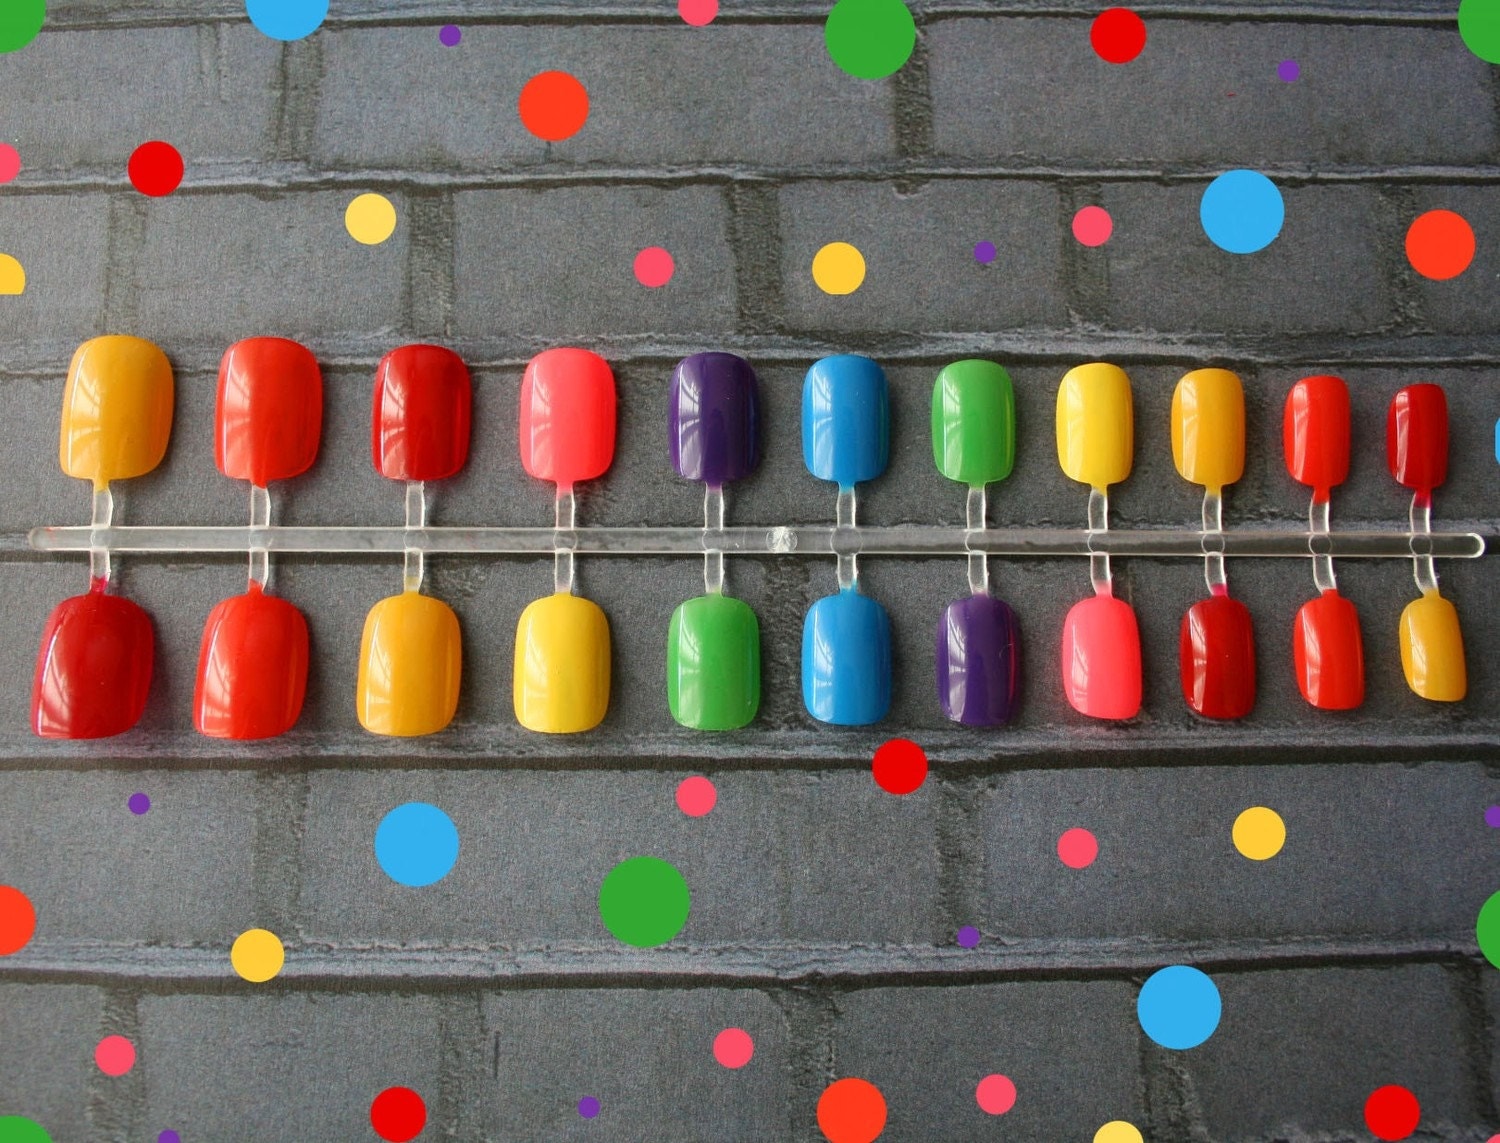
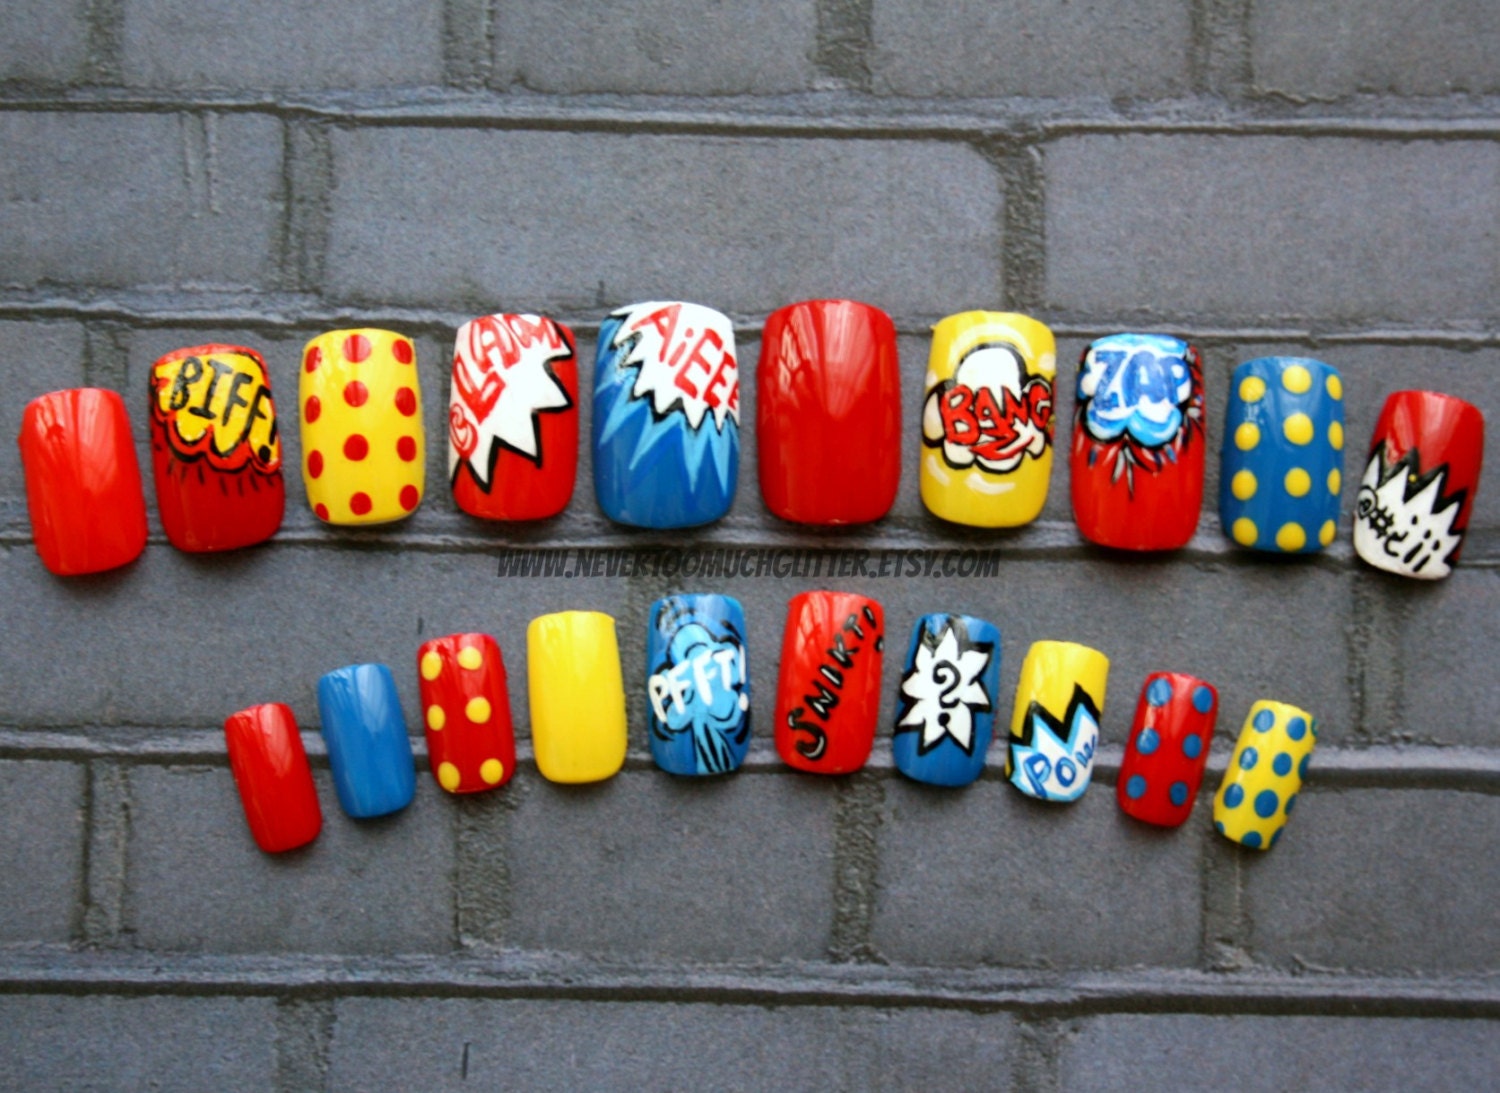
Here are some outrageous nails. These are not for the shy!
I had a few press-on nails left from this weekend. I cannot figure out how I always wind up with a few extra nails, but I had just enough to marble one hand. Sorry for the differing lengths and sizes. I hope you can get the idea.
I can’t wear long nails, either natural or fake, because I do a lot of typing at work. Long nails look great on some people, but I just can’t pull it off. If one breaks, I absolutely must cut them all. I tried acrylics once, ages ago, and even though I went to an expensive salon, they didn’t sterilize the tools! I couldn’t believe it when they just put them back in the basket! Yeech! So no more trips to the nail salon. But when you can make nails this brazen, who needs a salon?
Without further ado:


The flash reflected in my window, leaving that bright spot above the thumb, but I hope you get the idea.
These are made like my other marbling- the stripes + thumbtack method. I will review below, or please check out my tutorials section for a step-by-step with photos
I painted these while they were on my nails. It’s easier than trying to do them unattached, in my opinion. Do all the steps on each nail and then go onto the next nail.
First, I painted clear lacquer (not quick dry!) all over the nail. Then, immediately paint on white, green and red stripes in a diagonal pattern. I did them with random order and widths. The, I dragged a toothpick through the nails diagonally in the opposite direction of the stripes.
And that’s pretty much all. Apply topcoat while the nails are still wet but slightly tacky. (Well, these nails are tacky all the time, but you know what I mean). I didn’t add topcoat to these because I wanted the stripes to stay sharp and distinct. If you apply the topcoat, the design will soften and blend together better. However, it’s easy to ruin the design at this stage. If you apply the topcoat too late, it will not blend right, and if you apply it too early, it will all run together. Practice will really make perfect, though.
There’s another technique called water marbling which I will try to show you later, but it’s unpredictable and it gets messed up more often than not. When I get the formula right, I’ll be sure to do a post on it.

I like these, they remind me of candy canes!
I like these, they remind me of candy canes!
I love them – wonderful! I may have to try that soon…
Good luck on your apartment hunt!
Gorgeous! I’m using one of your pictures on my blog and linking it to your blog. Hope it’s ok. 🙂
Sure, as long as you credit it, I’m very happy!
Thanks! 🙂